Direct Invoice
Follow these instructions to create an invoice for a direct placement. NOTE: If you have a back office license, invoices are created from the Financials area and not from the assignment.
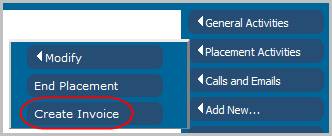
1) Select Create Invoice from the Placement Activities menu in the workflows control panel.
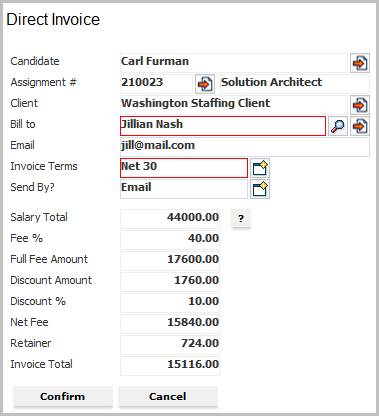
2) The Direct Invoice workflow will open in a new window.
3) While update the form with the new information; notice that fields marked in red are required to complete the workflow; and that by clicking on the buttons to the right of certain fields, a new window will open, allowing you to search and select options related to that specific field.
4) The totals are read only fields, to change the amounts utilize the Modify Fee Calculations workflow.
5) Click Confirm to complete workflow.
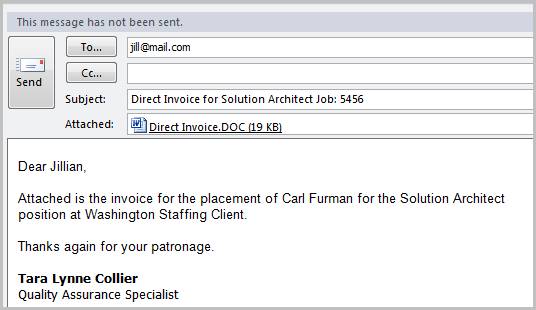
7) Verify the Direct Invoice Sent via Email entry posted to the journal. Note: if the invoice is mailed the journal workflow name is Direct Invoice Sent via Mail.
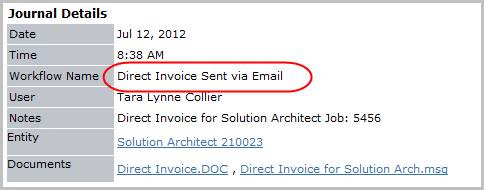
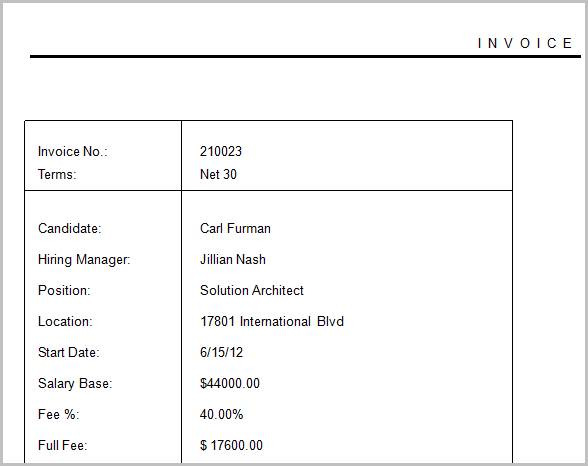
8) After the workflow completes the invoice is attached to the journal entry, you can view the invoice by opening the journal and clicking on the Direct Invoice.DOC document.