Add Contract Job Order
Use these instructions to create a new contract job order.
1) Select Contract from the Add New > Job Order menu in the workflow control panel.
2) The New Contract Job Order workflow will open in a new window. While updating the form notice that fields marked in red are required to complete the workflow; and that by clicking on the buttons to the right of certain fields, a new window will open, allowing you to search and select options related to that specific field, or choose a date.
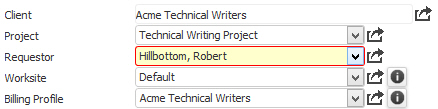
3) The first section of the workflow view lists the Client, Project, Requestor (Contact), Worksite and Billing Profile for the job order.
If there is not a Worksite or Billing Profile in the drop down lists, a default worksite record and/or billing profile record will be created on confirm of the current workflow.
4) The next section of the workflow view details the priority of the job, the number of positions required, burden rate and start and end dates of the position.
5) Select the Hot Job option to keep this job order at the top of your lists in the adapt.studio and other locations where you can filter high priority job orders.

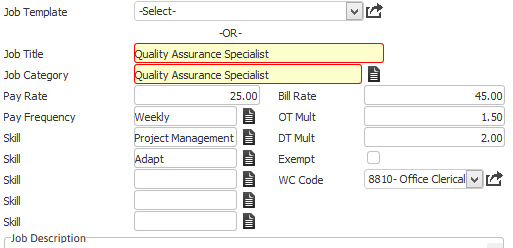
6) Use the Job Template drop down to auto-fill the Job Title, Category, Skills and Job Description fields. To create a job template use the Add New Job Template workflow from the company record.
7) The Rates will be populated from the Client Contract that matches the Job Category, as long as the contract is active. To create a contract, use the Add New Client Contract workflow from the company record.
Note: if the pay rate is equal to or higher than the bill rate you will be alerted after tabbing out of the rate fields or on confirm of the workflow. You are permitted to create a job order where there is no pay or bill rate. This can be changed after the record is created.
Note: If you have a back office license, WC Code is required. If you do not have a back office license, WC Code is optional.
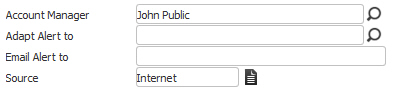
8) The Account Manager is populated from the company record; select the look-up icon or type in the name of a different Account Manager if required.
9) Adapt Alert and Email Alert fields generate notifications to the names that are entered into these fields. These notifications are sent on confirm of the workflow. NOTE: If you have a notification set up in Administration AND you enter an email address in the Email Alert to field, 2 different emails will be created: one using the Alert template and one using the Notification template.
10) After completing the form, click confirm to finish the workflow and create a new job order or cancel to discard changes.
![]()
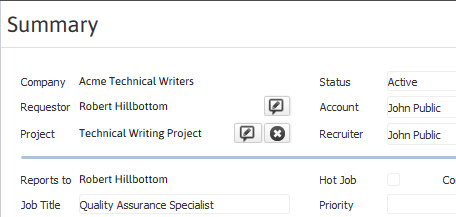
11) The Adapt screen will refresh to display the Summary segment of the new Job Order.
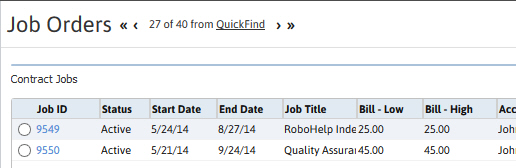
12) You can also access the record through the Contract Jobs list box on the Job Orders segment.
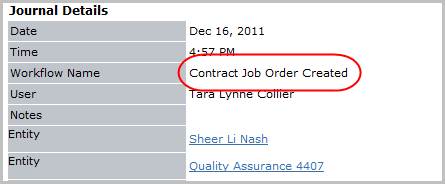
13) Verify the Contract Job Order Created entry is posted to the journal.