Settings
The settings segment is the location for users to view and modify personal settings within AdaptSuite.
1) Mouse over My Adapt on the main navigation bar and select More and then select the Settings link from the drop down menu.
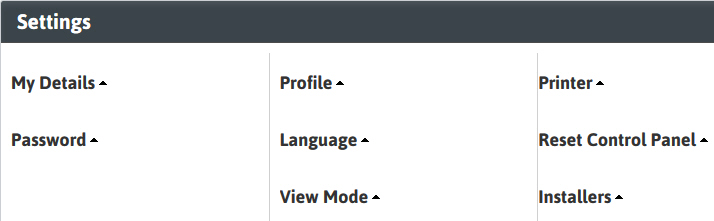
2) The segment will refresh to display settings menus in a collapsed view.
§ Click the arrows to expand and view the options below each menu.
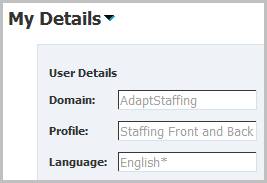
3) My Details displays the user’s default domain, profile and language settings.
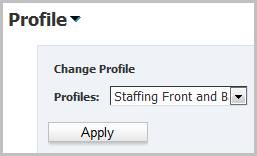
4) If the user has more than one profile they can open the Profile setting menu and switch between the profiles without re-logging into AdaptSuite.
§ Most users will only have one profile. Generally the system administrator will use additional profiles to modify system settings.
5) Add-In installers are located under the Installers setting menu. For more information on installing the Outlook Add-in, click here.
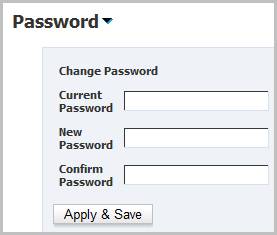
6) Users are able to change their password through the Password setting menu.
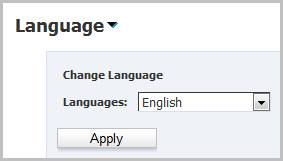
7) In systems with alternative language options, such as French and Chinese, the user can switch between English (default) and their configured language. This will change the labels on segments and workflow views to the selected language.
8) The user can define a network printer to use when printing reports and search result listings. To add a default printer, you need to know the network path and the name of the printer. Select the "To Printer" option and then enter the path and name in the following format: \\networkpath\printername. For example: \\ad01pro1\Sharp.

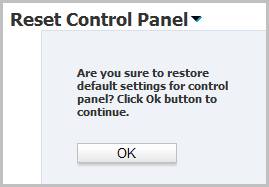
9) Restore default settings for the control panel with the Reset Control Panel settings menu.
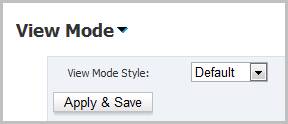
10) Change view mode style through the View Mode settings menu.
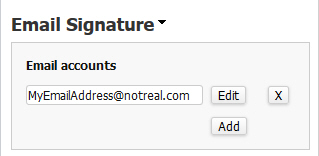
11) The Email Signature option is used to create an Email signature for those who are using Gmail integration. This is the signature that will appear on Gmail emails. To add a signature, click Add. To edit an existing signature, click Edit. To remove an existing signature, click X.