Outlook Explorer Toolbar
|
Outlook Explorer Toolbar |
![]()
The Send to StaffSuite Outlook Explorer Toolbar is made up of two buttons (NOTE: In OL2010, the buttons are located on the ribbon for the Add-Ins tab):.
![]()
StaffSuite Preferences
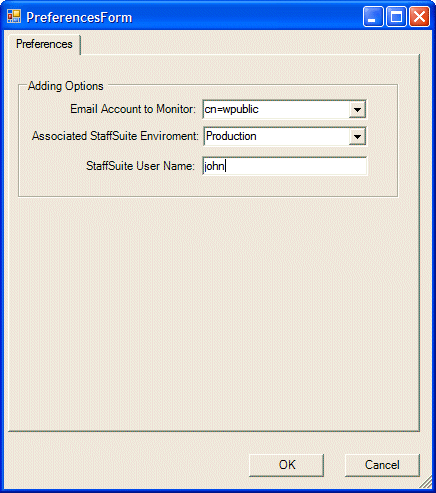
Clicking the StaffSuite Preferences button opens the Preferences Form:

The Email Account to Monitor field tells the Send to StaffSuite Outlook Add-in which email account to use. This defaults to the Outlook profile you are currently logged into.
The Associated StaffSuite Environment field tells the Add-in which StaffSuite environment to use. The droplist contains a list of all StaffSuite environments installed on your computer. For example, if you have a Production and Demo environment, your selection here determines where the Add-in sends the Email to. If you select Production, it will go to that database. If you select Demo, it will go to that database.
The StaffSuite User Name field determines the user that will be assigned as the receiving user. This does not necessarily have to be the user logged into StaffSuite. For example, if User A is logged into StaffSuite and User B is listed as the StaffSuite User Name, then any emails that User A sends to StaffSuite will have a show to have been received by User B.
Link
The link button is the first step in sending the email to StaffSuite.
With the email selected in Outlook's Explorer window, click the Link button. The email inspector window opens with the Form Fields active.
For more information about the Form Fields, click here.
Keep in mind that you still need to click the Send to StaffSuite button on the Inspector toolbar to actually send the email to StaffSuite.
![]()
Related Topics: